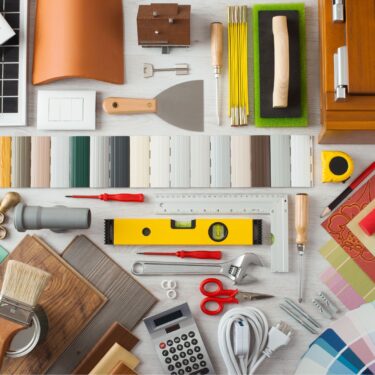
Moving house can be a stressful time. Figuring out how to get everything exactly the way you want it in your new home while trying to stay on budget is no easy task. Well, you’ll be happy to know there are lots of new home DIY tips to help you save money on renovation costs! We’re going to talk you through all the best (and easiest) ways you can improve your home without forking out for an expensive contractor.

Experienced in do it yourself home improvement? Then skip ahead to our top 10 new home DIY tips. For those of you who are just stepping into the world of DIY home decor projects, check out our guide to saving money when decorating a new house below.
3 Ways to save money on home refurbishment
1. Budgeting
The first step of any home improvement project, whether that be updating your current home or working on a complete renovation project, is to write out a budget. There are two key elements to this. Firstly, you need to know exactly how much you can spend. This all depends on your aim. For a big home refurbishment project, you need to know all the money you have, plus what you can add to that over time. You could start with a personal budget and then use this to find your spendable income each month plus your savings. If you simply want to update the drab kitchen in your new home or add some style to your front windows then you probably already have a good idea of how much you want to spend on materials. For anyone moving house it’s especially important that you don’t drain all your savings just moving in, and keep a little back for things like bills and emergencies. So choosing to DIY a few key elements of your rooms, rather than pay for a contractor to change things completely, is the best way to keep costs down.

The second element of creating a budget is working out what exactly you want to spend money on. Write down everything about your house you want to change and then prioritise that list. Budget home improvement doesn’t always have to mean cheap, it can mean that you’re spending money in only the most important areas. So for example, if you need a new oven for the house and you also want to make the bathroom look a little less dated, prioritise the ‘need’ over the ‘want’. In this case, you could spend a little more on the oven and give the bathroom a DIY update. Once you know how much you can spend on each element of your new home, you can start looking at the right DIY projects to stay on budget.
2. Repurposing materials
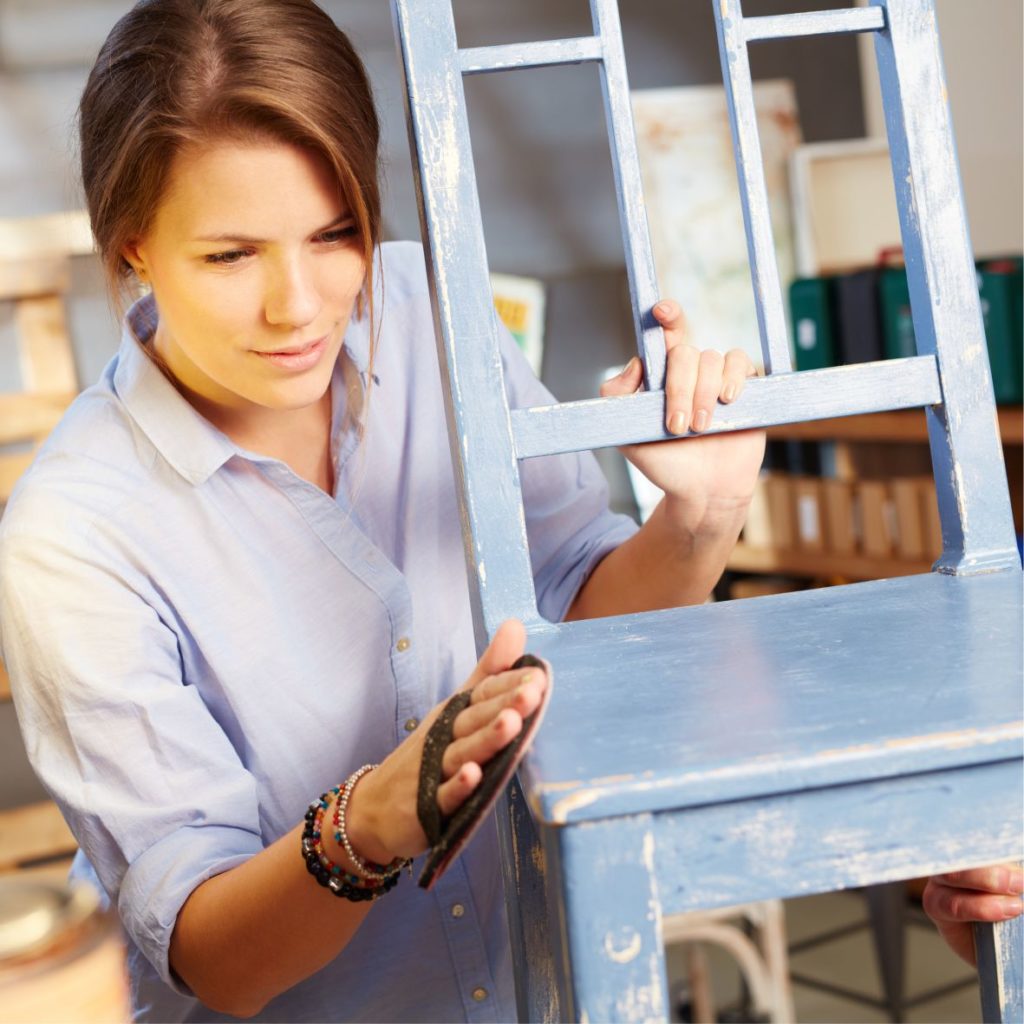
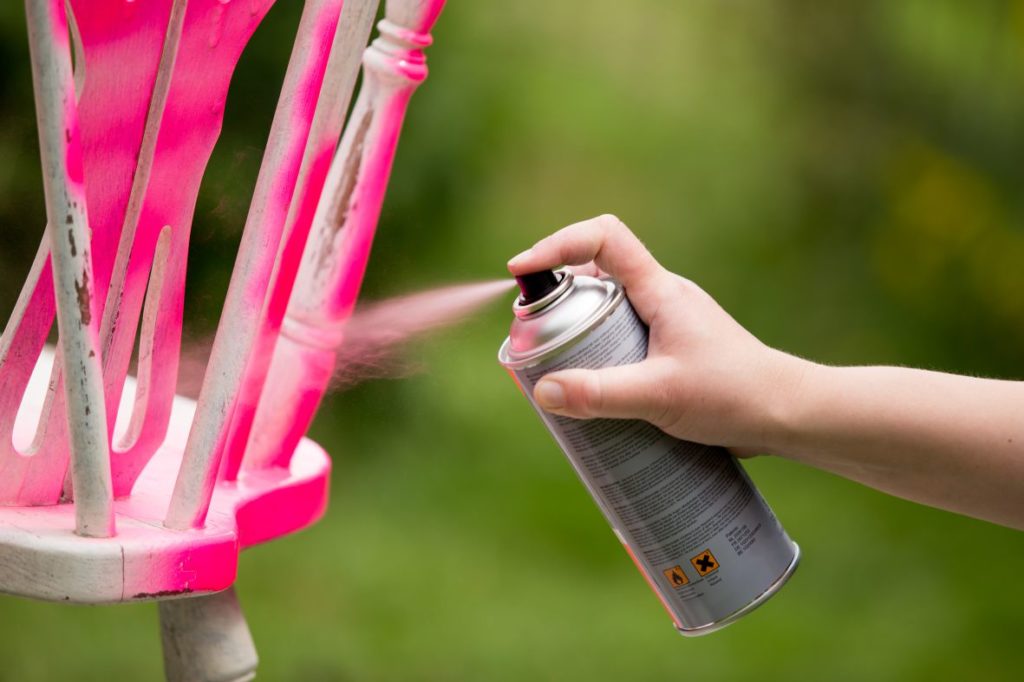
It sounds so simple but it seems to be most people don’t always think of choosing second-hand materials for DIY home projects. So how exactly can you save money by repurposing materials? There are lots of ways to change what you have without buying much at all. For example any nasty old cupboards you don’t like, you could sand and paint or simply remove the front doors and paint the inside a bright colour. A simple and effective way of updating a look without buying anything more than a tin of paint. Also don’t feel like you need to choose expensive chalk paint to get the style you need, you can always use cheaper paint and then use a chalk paint recipe to make your own.
What about sourcing second-hand materials? There are a few options, firstly using websites such as freecycle or Preloved are a great way of finding low-cost or free additions and materials for your new home. Nothing you like online? Why not try your local charity shop or second-hand furniture shop? Remember you might not like an entire piece of furniture but it might have one or two elements you could repurpose. Plus don’t forget to ask! People have all sorts of things stuffed into their sheds that they don’t want. You might find soft furnishings, materials and even furniture from friends looking to free up some of their space.
3. Know your DIY limits
There’s plenty of DIY decor projects you can take on to improve the feel of your home. But you might find doing every single room too time-consuming, plus bigger projects might just be too difficult to do by yourself. So think about your limits. Call in friends and family with experience for advice and help, but if there’s something your house really needs like wiring changes or a new wall it’s worth considering hiring a contractor. If you try and do something outside your limits alone, you might end up spending more by having to hire someone to fix it anyway. Consider if you have the time and skills for any project you take on. In general surface improvements, generally upgrading the look of your home, can be done yourself. However, when it comes to really big projects, only take them on if you have the right skills and the time it needs to get it done right.
10 New home DIY tips
Ready to get started making your new house a home? We’ve curated this list of top tips to only include design ideas that are simple and affordable. Have fun with your DIY creations!
1. Make your new home easy to find
Once you’ve moved into a new home, it can often be difficult for family, friends and even delivery drivers to find your new address. Especially when many houses don’t have obvious numbers. Plus lots of estates have confusing numbering systems, leading to a lot of explanation phone calls and running outside in your dressing gown to wave. Don’t worry, there’s a simple decorating tip that also adds kerb appeal to your property.
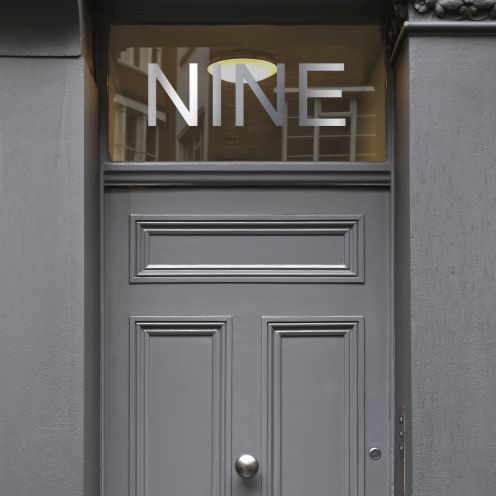
House number stickers are perfect for making your new home easy to find. They’re super simple to apply and can be easily replaced if you change your mind, unlike more permanent options. When it comes to house number stickers you have a huge range of choices, from lettering to beautiful stained glass period designs. Finding metal or ceramic numbers for your door that actually suit the style of your house can be expensive and time-consuming. With house numbers on window film, you can customise your door, for a really low-cost, and apply the film yourself. Time saver and money saver, win-win.
2. The simple solution for old cupboards
Ok, so one of the biggest updates your house probably needs are the cupboards. For most home refurbishment projects this is near the top of the list. Old cupboards give your kitchen or bathroom that horribly dated feel and can often make the room feel smaller. The expensive way to deal with this problem is by removing and replacing all your cupboards however there are actually quite a few ways to update your cupboards yourself with just a tin of paint!
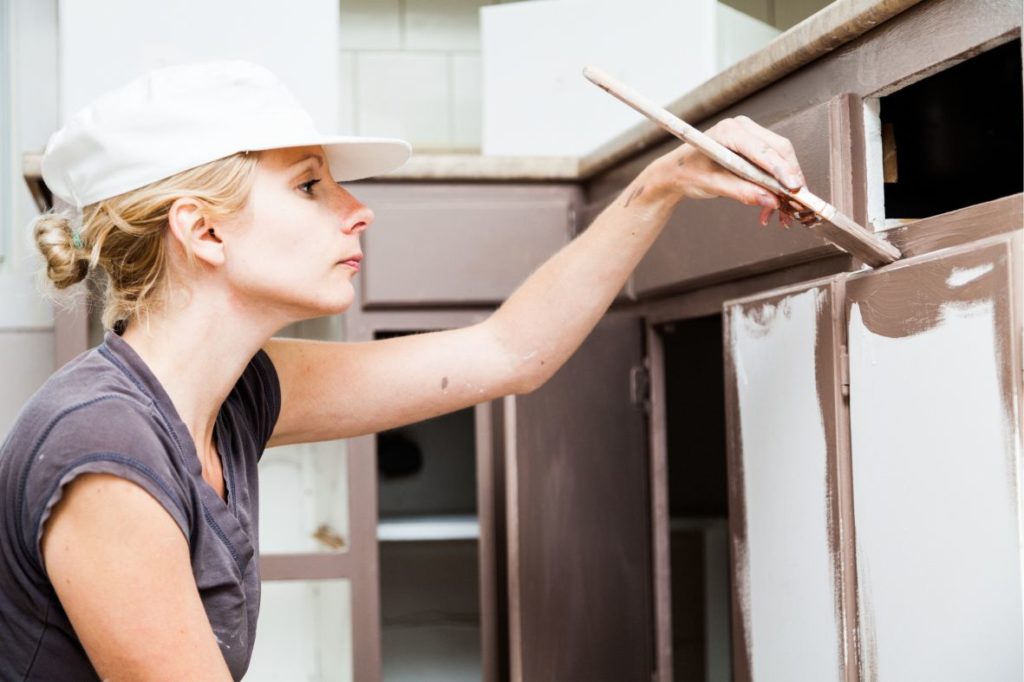
The first option is the simplest. Painting the outside of your cupboard. For wooden cupboards you can choose a varnish to suit your home or for something more modern try chalk paints. Chalk paints offer a really nice, bright tone especially for your kitchen. If you want your cabinets to be more ‘shabby chic’ then sand your cupboards before painting to give them a distressed look. Really not a fan of your cupboard doors? Then remove them! Don’t be afraid to have open cabinets in your kitchen, it often helps the room feel more spacious. If you’re opting for this then make sure to paint the inside a nice bright (or white) colour as this will enhance the feeling of space, plus it looks nicer than just standard cupboard insides.
3. Re-tile your kitchen backsplash
The kitchen is the heart of any house so this is one of the best rooms to update to instantly feel more at home. You might initially think any tiling is beyond your DIY skills but you’d be surprised. If the tiling runs all around your countertops or even just behind your oven it can make a huge difference to the feel of the room! The simple way to tile your kitchen walls yourself is with peel and stick tiling.
To start with you will need to remove your old kitchen tiles but this is very doable on your own or with a couple of friends to help speed up the process. Next, you can choose from the huge range of affordable peel and stick tiles online. Finally, installation couldn’t be simpler, the name is on the tin ‘peel’ and ‘stick’. You can follow the step-by-step instructions if you want a little more guidance on exactly how to do it.
4. Update old staircases
If you’ve chosen a house that’s a fixer-upper you might have to fork out a lot of budget on your stairs. However, as long as they’re structurally sound and they just need a bit of a cosmetic makeover you might be able to save more than you think. The obvious choice is carpet, either the entire steps or just the middle, but it’s an expensive choice. The cheaper option is using decorative stair stickers.
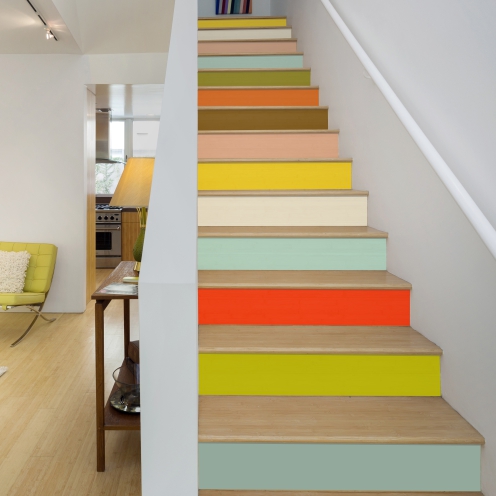
Stair stickers can be applied yourself onto the front-facing side, or riser, part of your staircase as a replacement for your old carpet or instead of varnish. They can be crazily colourful or classically victorian and you also have the advantage of printed stickers being totally customisable. You could choose something really fun, especially if you have children! In terms of design, stairs are often left alone, but it’s actually a large amount of space you could be optimising better. The cost of stickers and applying them yourself is so much cheaper than carpet, even if your stairs are fine you might want to remove the plain carpet you already have and go for stair stickers!
5. Showcase your style with a picture wall
Decided on a feature wall but struggling to pick a wallpaper? Or maybe you’ve already done your painting but your room still feels a bit plain? We’re here to tell you that a feature wall can be so much more than just wallpaper. A picture feature wall is a great way to liven up a room and show off your personality. With pictures, you can either exhibit your favourite images, relive your best memories or fill the wall with family and friends.
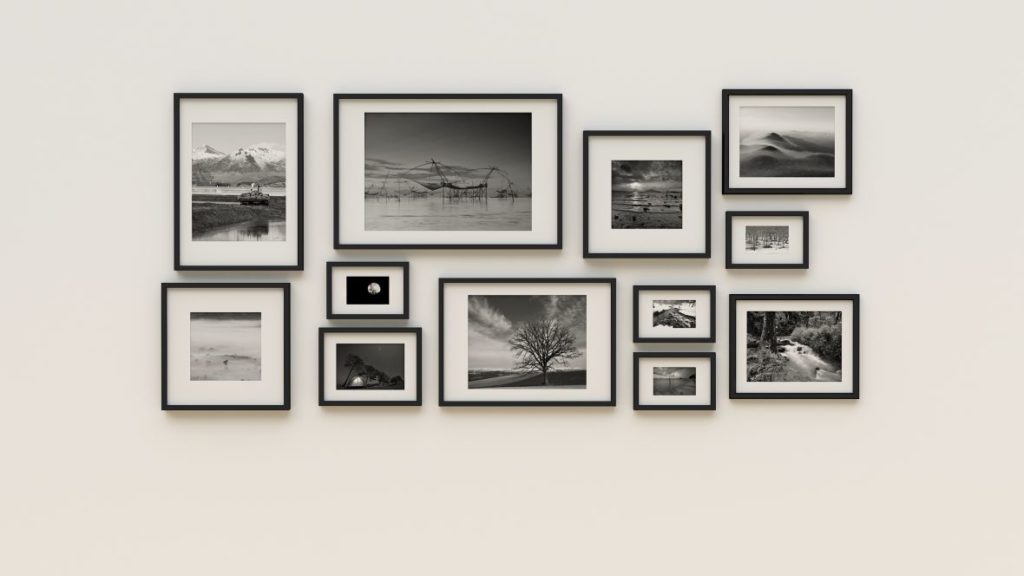
When it comes to DIY picture walls there are so many creative ways you can go about it. From framed photos to mixed media displays, you can really let your imagination run wild and it’s easy to do on a budget!
6. How to protect your privacy and keep your natural light
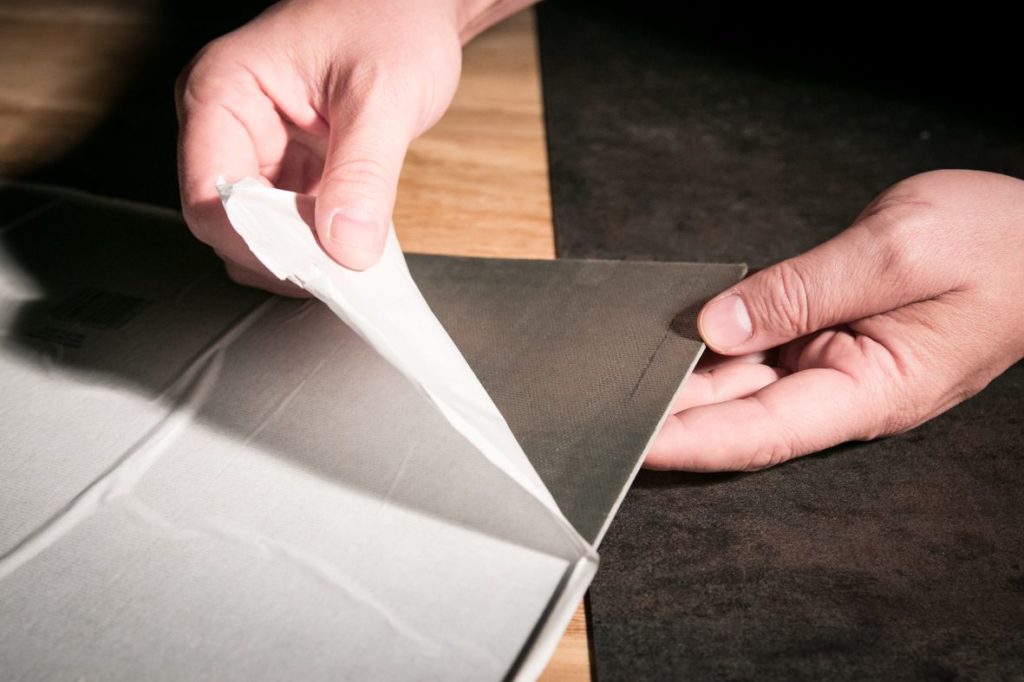
Does your house have big windows in areas you’d rather keep private? Maybe your front bay window is right on street level, or maybe the neighbours can see into your bathroom. You might be surprised to know there’s a simple DIY solution that doesn’t require any messy building work, and still lets you keep your natural light.
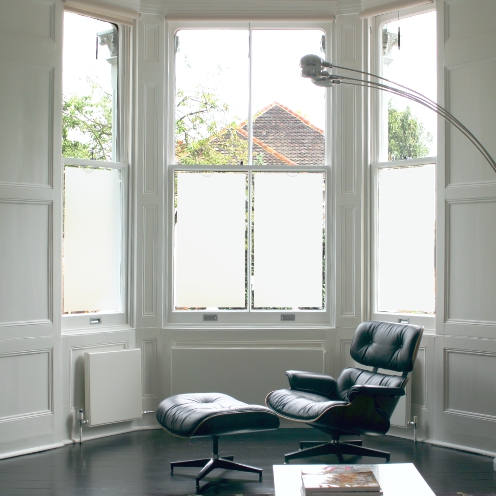
Frosted window film is a quick and cheap solution. It’s easy to apply yourself and allows you to feel a sense of privacy in your own home, without having to replace glass or use blinds that block out all the light. For any ground floor windows, you can actually add more security to your home by obscuring your valuables from view. When choosing a window film remember that you can customise it however you want, use it as an opportunity to find something that fits with your space.
7. Creating custom tiles on a budget
If your home refurbishment project comes with a lot of boring tiles, or maybe you just don’t have the budget to fork out on exciting ones, you can create your own custom tiles! How you ask? It’s surprisingly easy with stencils and paint.
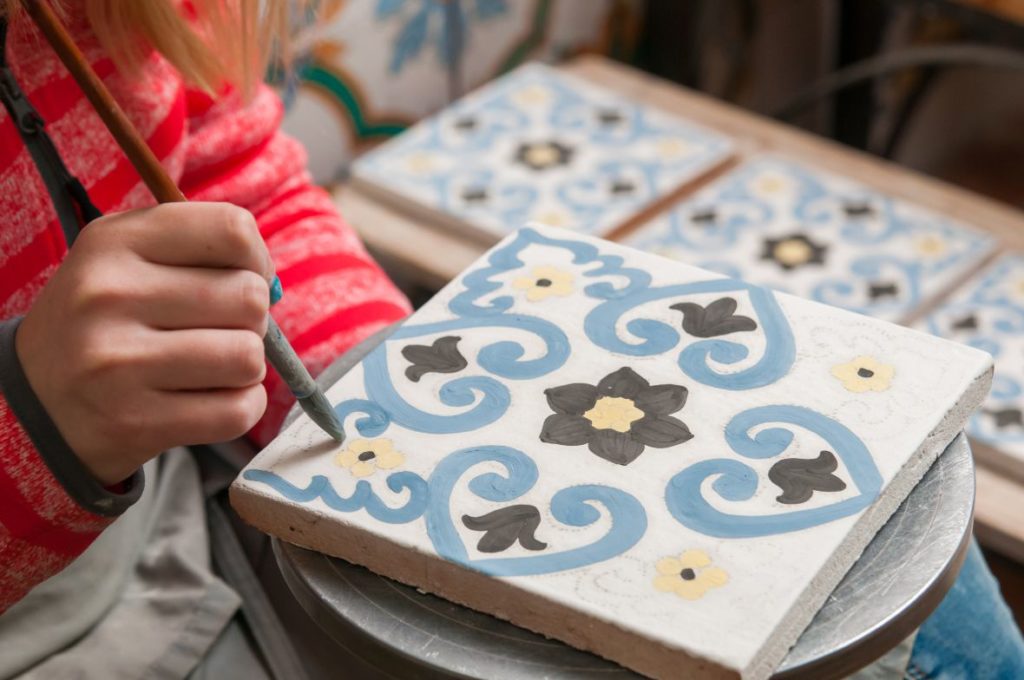
First, you need to sand and clean your tiles and then paint a block colour. Chalk paint is the best for this however if you want to use standard paint then consider using a primer first. Then you simply tape down a stencil, working tile by tile, and use a paint roller to fill in the design. You can either buy a stencil or if you’re feeling really creative, make your own! If you’re still not feeling confident you can watch the step-by-step process in this how to paint tile floors video.
8. Update furniture without any hassle
So you can choose a piece of old furniture, sand it, repaint it and wait for it to dry. However, if you want a really simple way of giving old furniture an update you can just replace the drawer knobs or cabinet handles. Even if you are repainting, this is a nice step to do at the end. When it comes to furniture knobs, most of the standard ones are just that, standard and boring. Head to a second-hand shop or an antique shop and you’ll often find exciting and colourful handles you can repurpose. You shouldn’t have any problems installing them yourself but you can check out this guide before you start for more tips.
There a few things to consider when taking on this DIY project. Firstly try and buy second hand first, it is your cheapest option. Secondly, think about the size and whether or not they’ll catch and buy a few extra as backups, just in case. Glass handles can give your bathroom an elegant feeling, colourful ones are great for plain furniture, but really you can use whatever style you like for contrast. This is definitely a great DIY home decor project because not only is it easy to do but it’s also a lot of fun choosing the handles!
9. The easy way to increase your kitchen prep space
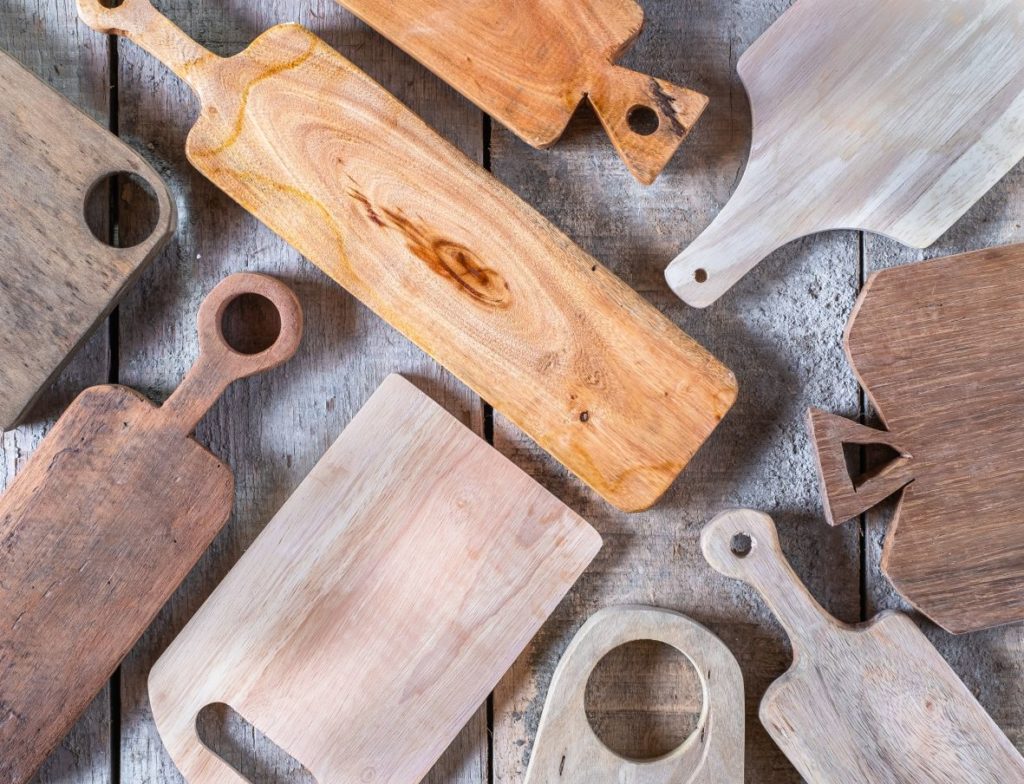
Countertop space is always a must for anyone who spends a lot of time in the kitchen. If your new home is lacking in this area it might be something you’re thinking of spending a lot of your budget on. There are a few easy ways to enhance your kitchen space. One way is to make your sink multipurpose, DIY a chopping board that fits across your sink. That way you have more workspace plus the added benefit of hiding dirty dishes! This is a slightly more complicated DIY so you might even be able to find a chopping board that is the right size, but for something that’s really perfect for your kitchen, you’re better off making your own.
The second way you can increase your space is by repurposing other furniture. You can take an old set of drawers, add paint to match your kitchen and then use it as a worktop island. The best way of using a kitchen island is to add wheels to the bottom of your drawers, this way you can move it to wherever you need it. Plus you’ve now got moveable storage space.
10. Say goodbye to boring shelves
We’re so used to simple bookcases and standard shelving that we usually only think about what can go on them. What about having the actual shelves as a feature piece? A quick trip to IKEA can have you coming home with pretty floating shelves but there’s so much more you can do with them. It’s not difficult to make your own, especially if you’ve done any DIY with wood before.

So what could you do with your shelves? Well you could go for different shapes like boxes or hexagons even, or hang them up using ropes. The wooden shelves could be standard and you could use something creative as your brackets, like copper pipes or leather belts. If you’re looking for a really different idea you could use driftwood or old crates to create your design. Whatever option you pick, try and use reporsed or recycled materials wherever possible and you’ll stay firmly within budget.
We hope you’ve enjoyed reading this article and found lots of great new home DIY tips. Let us know if you try any of these home improvement ideas for yourself and feel free to get in touch if you’ve got any ideas you think we should include in this list. Have fun with your next DIY home decor project!